Fix: No Bootable Device — Insert Boot Disk and Press Any Key
This error usually follows after users lose their nerves or their concentration and either hit the laptop or drop or hit the laptop or the CPU of their computer. Either way, there may be some physical damage which caused the error but there are plenty of cases where the problem is caused by software errors which can be fixed via standard troubleshooting.

If the problem can be blamed on hardware, you might need to call a technician to fix it or replace the faulty hard drive which can be costly. Follow our instructions in order to analyze and solve the problem!
Preparation
In order to see what exactly caused the error message, you might want to take out the hard drive and try to boot your computer without it. The exact process of removing the hard drive depends on your CPU or the brand of your laptop.
You also might want to know that you may lose your warranty if you take out the hard drive of your laptop so make sure you know the risks.
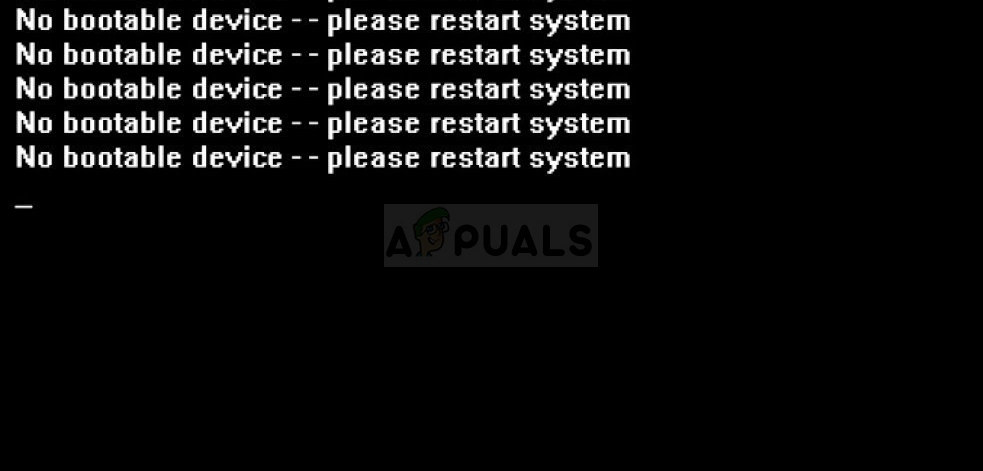
Either way, after you have booted from your hard drive, check the message which appears on-screen. If the message remains the same, that may be the sign of physical damage to your hard disk and you may need to either fix or replace it. If the message now says “No bootable device — Please restart system” you may continue troubleshooting by following the instructions in the article.

Solution 1: Change the Boot Mode to UEFI
Changing the boot mode to UEFI managed to solve quite a few similar problems and users also claim that this solved this exact issue on their PCs. Differences between different boot modes are quite obscure and we won’t get into details. Changing the boot mode to UEFI won’t make any significant changes to your user experience so make sure you try this one out!
- Turn off your computer by going to the Start Menu >> Power Button >> Shut down.
- Turn your PC on and try to enter BIOS by pressing the BIOS key while the system boots. The BIOS key is typically displayed on the boot screen, saying “Press ___ to enter Setup.” Common keys assigned to this functionality are F1, F2, Del, Esc and F10. Note that you will have to be quick about it as the message disappears in no time.

- The Boot Mode option which you will need to change is located under different tabs on BIOS firmware tools made by different manufacturers and there is no unique way to find it. It’s usually located under the Boot tab but there are many names for the same option.
- When you locate the Boot Mode option in any area of the BIOS settings screen, navigate to it and change its value to UEFI.

- Navigate to the Exit section and choose to Exit Saving Changes. This will proceed with the boot so check to see if the error still appears.
Note: Here are a few different ways this option may be named in your BIOS settings along with the correct option you should choose:
- Legacy Support (On/Off or Enabled/Disabled)
- Boot Device Control
- Legacy CSM (On/Off or Enabled/Disabled)
- Launch CSM (On/Off or Enabled/Disabled)
- CSM (On/Off or Enabled/Disabled)
- UEFI/Legacy Boot (Both/Legacy Only/UEFI Only)
- Boot Mode (Legacy Support/No Legacy Support)
- Boot Option Filter (UEFI and Legacy/UEFI First/Legacy First/Legacy Only/UEFI Only)
- UEFI/Legacy Boot Priority (UEFI First/Legacy First/Legacy Only/UEFI Only)
Solution 2: Take Out the CMOS Battery to Reset Certain Settings
This solution will be useful to users who tried to get into BIOS by following the instructions above but they simply weren’t able to do so. As the title suggests, removing this battery will cause all boot and other BIOS settings to be reset to their factory defaults which helped plenty of users deal with this annoying problem.
- Open the computer case and find the CMOS battery on the computer’s motherboard. If you are unable to locate it, refer to your motherboard documentation or contact your computer’s manufacturer for help.
Note: With some computers, you may need to disconnect cables, remove drives, or remove other parts of the computer to gain access to the CMOS.

- If your computer is using a coin cell battery, removing the battery is simple. Use your fingers to get hold of the edge of the battery and pull it upwards and out of the socket holding it in place. Some motherboards have a clip holding the battery down and you may need to move it up to pull the battery out.
- Let it stay removed for 10 minutes, put it back in, and try to boot into BIOS by following the steps in the solution above. Try to do the same!
Solution 3: Reset the Boot Manager via Command Prompt
In order to follow the steps displayed in this solution, you will need to use a recovery DVD for the OS you are using. This is usually the DVD from which you installed your OS from. However, Windows 10 users have the option of creating one manually if they need to.
- Download the Media Creation Tool software from Microsoft’s website. Open the downloaded file called MediaCreationTool.exe in order to open the start the installation. Tap Accept to agree on terms and conditions set by Microsoft.
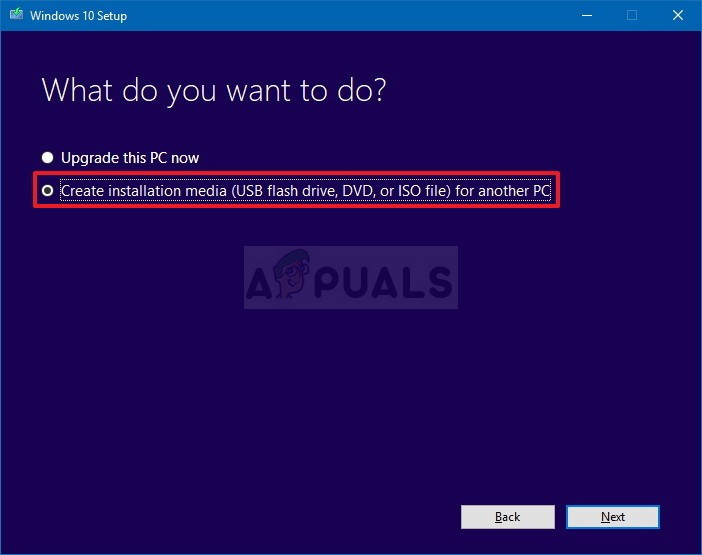
- Select the Create installation media (USB flash drive, DVD, or ISO file) for another PC option from the initial screen.

- The language, architecture, and edition of the bootable drive will be chosen based on your computer’s settings, but you should uncheck the Use the recommended options for this PC in order to select the correct settings for the PC which is encountering the error (if you are creating this on a different PC, of course).
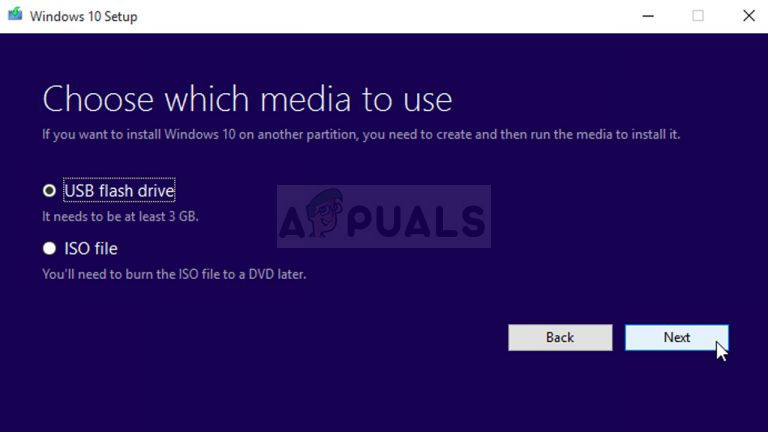
- Click Next and click on the USB drive or DVD option when prompted to choose between USB or DVD, depending on which device you want to use to store this image on.

- Click Next and choose the required drive from the list which will show the storage media connected to your computer.
- Click Next and the Media Creation Tool will proceed to download the files necessary to install create the installation device.
Now that you have this recovery DVD for Windows 10 as well, follow the steps below according to your operating system in order to open Command Prompt without the need to boot into your OS first:
- Insert the installation drive you own and boot your computer. The following steps are different from one operating system to another so follow them accordingly:
- WINDOWS XP, VISTA, 7: Windows Setup should open prompting you to enter the preferred language and time and date settings. Enter them correctly and choose the Repair your computer option at the bottom of the window. Keep the initial radio button selected when prompted with Use recovery tools or Restore your computer and click on the Next option. Choose Command Prompt when prompted with the Choose a recovery tool selection.
- WINDOWS 8, 8.1, 10: You will see a Choose your keyboard layout window so choose the one you want to use. The Choose an option screen will appear so navigate to Troubleshoot >> Advanced Options >> Command Prompt.

- Once Command Prompt opens, enter the command below and click Enter afterwards:
bootrec.exe /FixMbr
- Boot into your computer without the recovery drive and check to see if the error still persists.
The post Fix: No Bootable Device — Insert Boot Disk and Press Any Key appeared first on Appuals.com.


No comments