

Fix: Computer Turns ON by Itself
Windows Task Scheduler is a built-in Windows component that allows the users and Windows to schedule tasks or program to run at a specific time. Task Scheduler can schedule simple turn off tasks to running complicated hand written scripts at a specific time. Task scheduler has a very easy to use user interface that allows you to look at the scheduled tasks and the time they are scheduled to run at. This component comes with every Windows versions and it is used by users, system administrators, and applications to schedule maintenance and update tasks.
Although it sounds a bit odd but there are some cases where your computer will turn on by itself. Your system might turn on at a specific time but it won’t stay turned on for a specific amount of time. It will be completely random and the time your system will take to turn back on, after being turned off, will be random as well. In short, your computer won’t stay turned off for more than a few hours and you’ll find your system turned on in the morning or after a break. This behavior isn’t affected by the way you shut down your computer either. You can shut down via start menu or via command prompt and your system will turn on at its own. Lastly, once your system is turned on, it won’t turn back off on its own. This means that your system will stay turned on until you turn it off manually.
There are basically 2 things that can cause this issue. The first one is the Windows Fast Startup feature. This feature is designed to make the process of bootup very fast. But, this feature is known to have a bug that causes your system to automatically turn on at random times. The second thing that can cause this issue is a scheduled maintenance or scheduled wake up timers. The scheduled options are available in the Windows to automatically update the system or perform maintenance tasks. The thing is, these tasks sometimes create wake up timers that will automatically wake up your system to perform the schedule tasks. There are some settings that can be changed to disable these wake up timers and scheduled maintenance tasks. Unfortunately, Windows 10 is known to overwrite these settings and create wake up timers on its own for scheduled maintenance or update tasks. So, you might have to take some extreme measures and block Windows from changing the properties or settings from your system.
Method 1: Change Power Settings
There is an option of Fast Startup in the Power Options. This setting can cause this issue with the computer. Simply turning the Fast Startup Option off will resolve the issue for you. Follow the steps given below to turn off Fast Startup
- Hold Windows key and press R
- Type control panel and press Enter

- Select Small Icons from the drop down in View By section

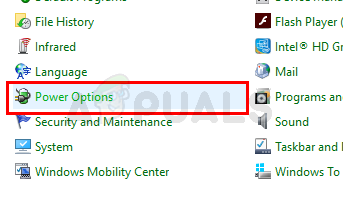
- Select Power Options
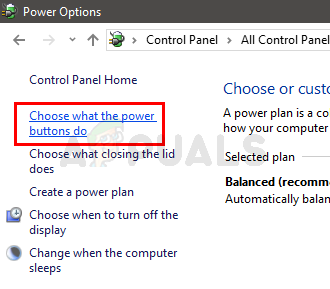
- Select Choose what the power buttons do
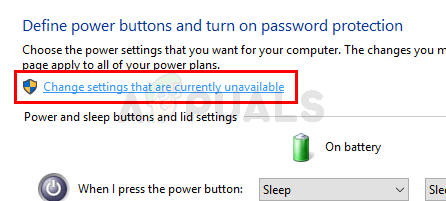
- Click Change settings that are currently unavailable
- Uncheck the option Turn on fast startup (recommended)
- Click Save Changes

- Now, click the back button from the top left corner of control panel
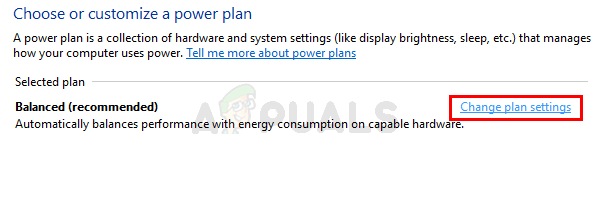
- You should be back at the Choose or customize a power plan screen
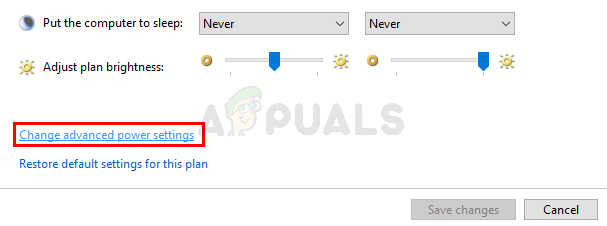
- Click Change Plan Settings
- Click Change Advanced Power Settings
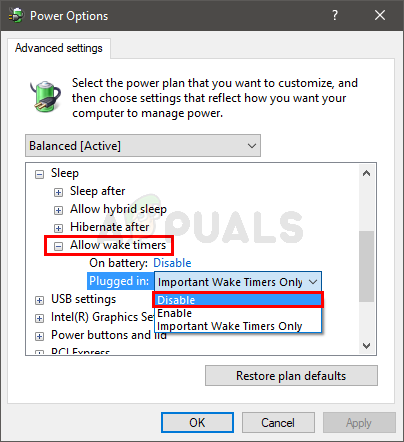
- Double click or click the plus icon of Sleep

- Double click or click the plus icon of Allow wake up timers
- Make sure this option is disabled for both On battery and on Plugged in
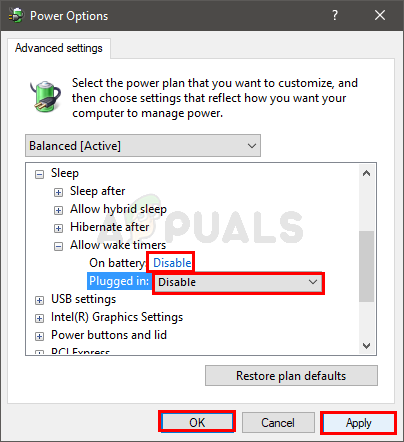
- Click Apply then select Ok
- Click Save Changes
That’s it. This should rectify the problem.
Method 2: Change System Settings
Changing the system settings and turning off the automatic restart option from these settings has helped a lot of users as well. This setting automatically restarts your system in case of a failure. So, follow the steps given below to turn off automatic restart option.
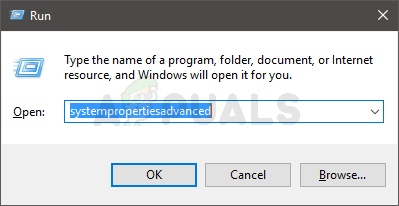
- Hold Windows key and press R
- Type systempropertiesadvanced and press Enter
- Click Settings from Startup and Recovery
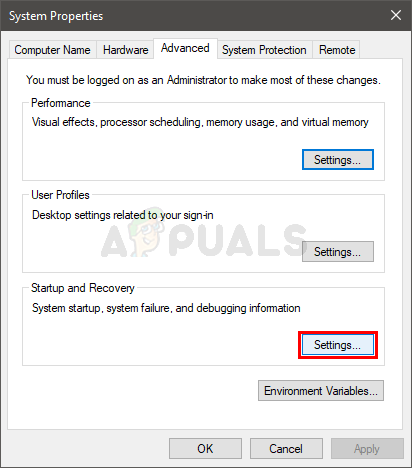
- Uncheck the option Automatically Restart. This option should be under System Failure section
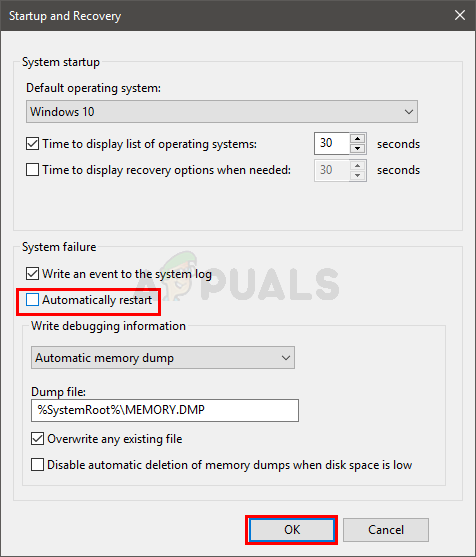
- Click Ok
- Click Apply then select Ok
This should solve the problem for you.
Method 3: Disable Scheduled Tasks
Scheduled tasks are the second biggest cause of automatic turn on of your systems. These scheduled tasks are designed to wake up your system and perform the scheduled task. So, disabling these scheduled task is the way to go. But, Windows has a bad habit of changing these tasks and enabling these tasks on its own. So we need to block the Windows from doing that as well. We will prevent Windows from accessing and changing the properties of certain tasks by making the files read-only. We will take the ownership of the file and change its properties so no other account has the permission to write these files. Once this is done, Windows won’t be able to change the properties of these files.
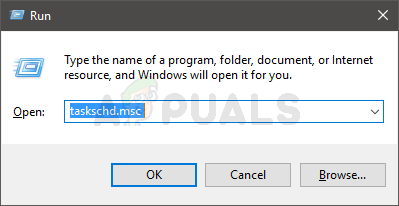
- Hold Windows key and press R
- Type taskschd.msc and press Enter
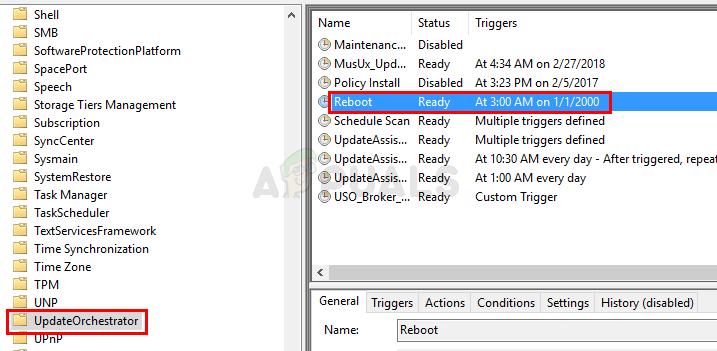
- Now, navigate to this location Task Scheduler Library > Microsoft > Windows > UpdateOrchestrator in the Task Scheduler. If you don’t know how to navigate to this location then follow the steps given below.
- Locate and double click Task Scheduler Library from the left pane
- Locate and double click Microsoft from the left pane
- Locate and double click Windows from the left pane
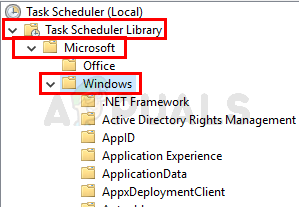
- Locate and click UpdateOrchestrator from the left pane
- Locate and double click Reboot from the middle pane
- Select the Conditions tab
- Make sure the option Wake the computer to run this task option is disabled
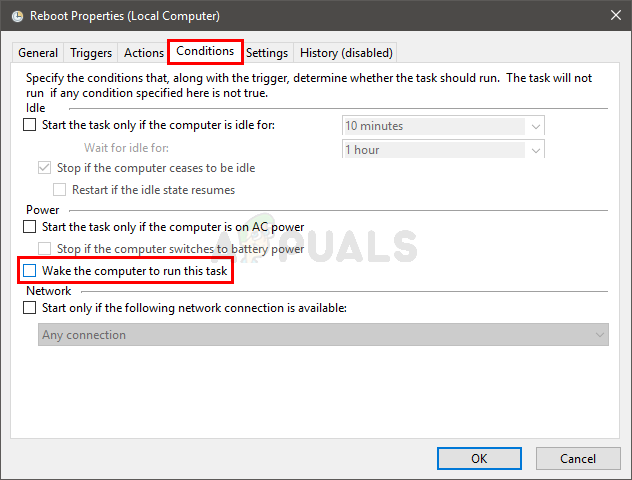
- Click Ok
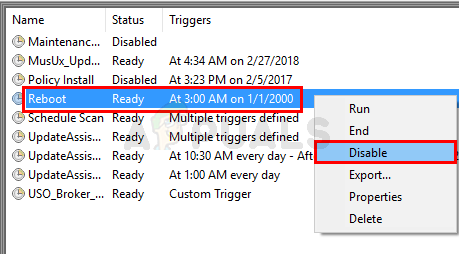
- Right click Reboot from the middle pane and select Disable
- Close the Task Scheduler
- Hold Windows key and press E. This will open the File Explorer
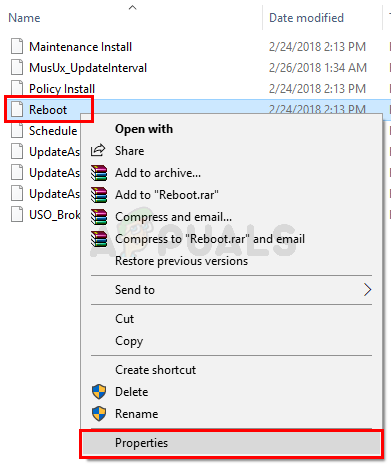
- Type C:\Windows\System32\Tasks\Microsoft\Windows\UpdateOrchestrator in the address bar and press Enter

- Right click Reboot and select Reboot should be a file without any extension.
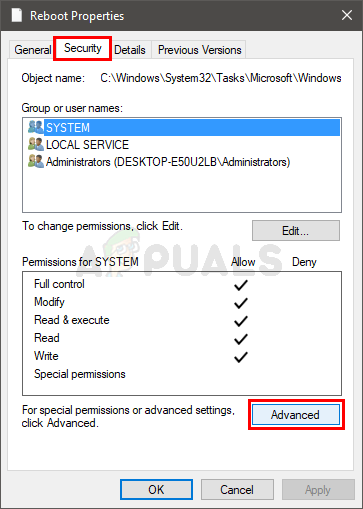
- Select the Security Tab
- Click Advanced
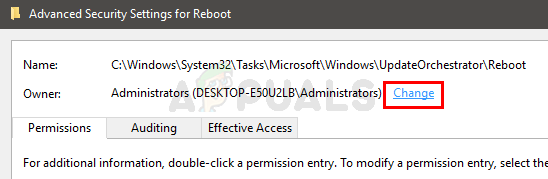
- Click Change (it should be in front of Owner)
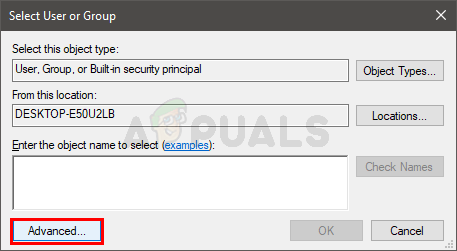
- Click Advanced
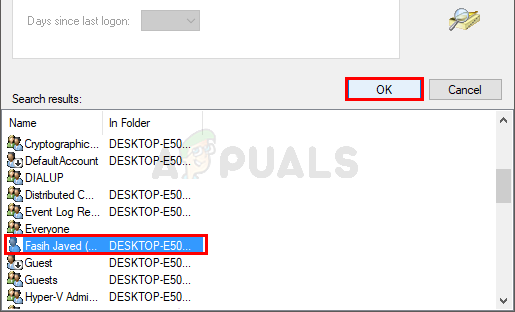
- Click Find Now
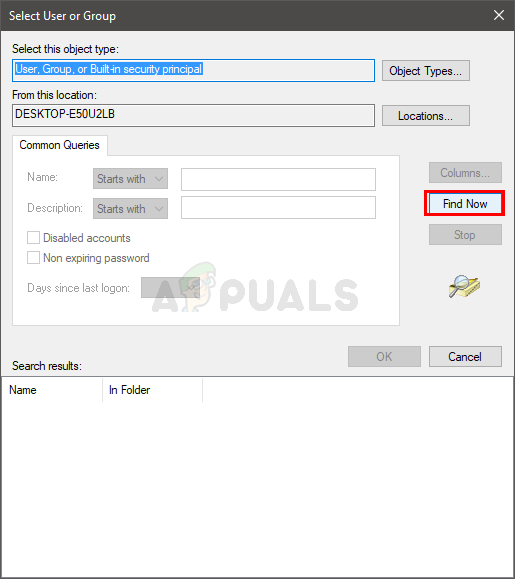
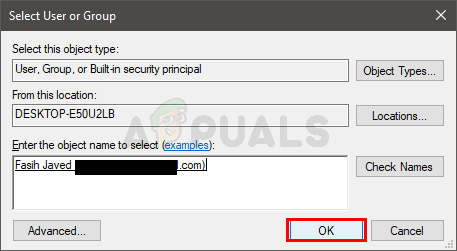
- Select your User from the newly populated list
- Click Ok
- Click Ok again
- Check the option Replace all child object permissions with inheritable permissions from this object
- Click Apply then select OK
- You will see a message telling you to close and open the properties again
- Close the properties window
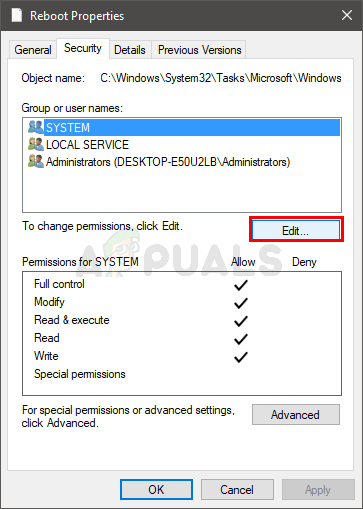
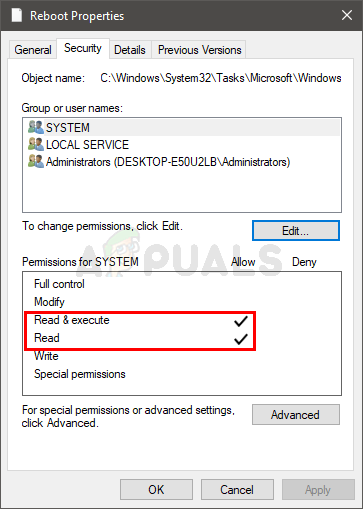
- Right click Reboot and select Properties
- Click Security Tab
- Click Edit
- Check the boxes in front of Read and Read & Execute
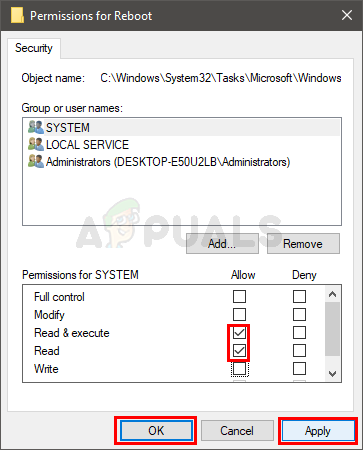
- Click Apply then select OK
- Click Apply then select OK
- You have to make sure that none of the accounts have the write access to this file. This is because we don’t want the Windows to change this file in any way. You need to make sure that your account doesn’t have write permissions either
That’s it. This should fix the issue and Windows won’t make any changes to this file now.
Method 4: Disable Automatic Maintenance
Automatic maintenance is another option in the control panel that lets your Windows wake up the system for maintenance tasks. Disabling this task might also help in preventing your system to wake up its own. Follow the steps given below to locate and disable this option.
- Hold Windows key and press R
- Type control panel and press Enter
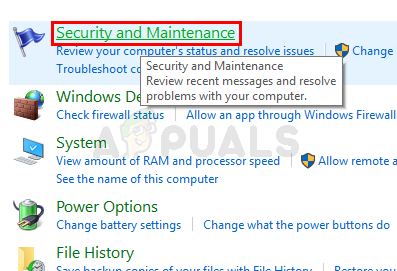
- Select System and Security

- Select Security and Maintenance
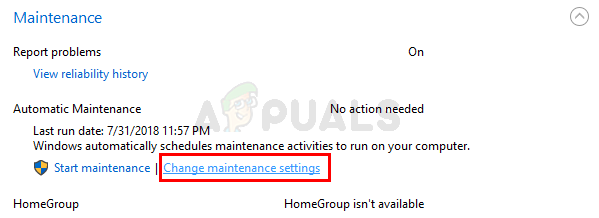
- Click Maintenance
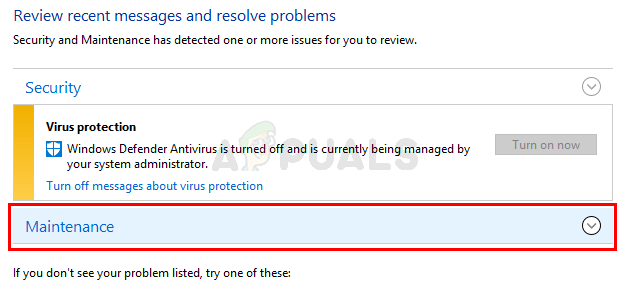
- Select Change maintenance settings from the Automatic Maintenance section
- Uncheck the option Allow scheduled maintenance to wake up my computer at the scheduled time
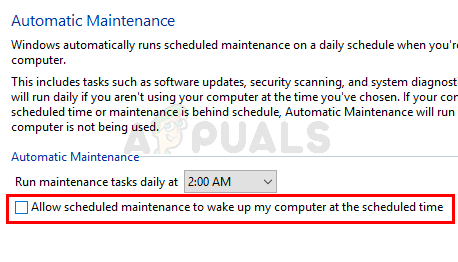
- Click Ok
Check if this resolves the issue or not.
Method 5: Disable Settings from Group Policy Editor
This is to make sure that there isn’t any option left on the Windows that will allow the Windows to turn on the system. There is an option in the group policy editor that enables the system to wake up for scheduled windows updates. Disabling this option will make sure that your system won’t wake up or turn on just to install the scheduled updates. You can disable this option by following the steps given below.
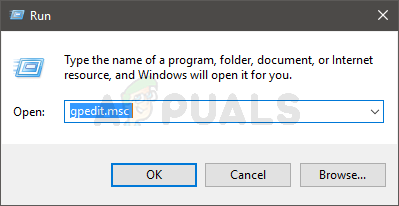
- Hold Windows key and press R
- Type gpedit.msc and press Enter
- Now, navigate to this location Computer Configuration > Administrative Templates > Windows Components > Windows Updates in the Task Scheduler. If you don’t know how to navigate to this location then follow the steps given below.
- Locate and double click Administrative Templates from the left pane
- Locate and double click Windows Components from the left pane
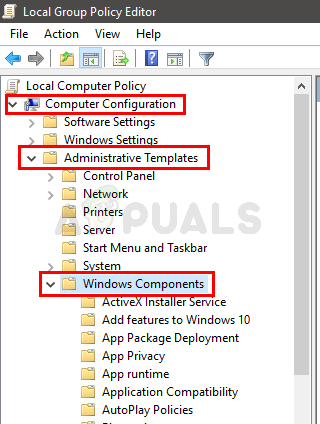
- Locate and click Windows Updates from the left pane
- Locate and double click Enabling Windows Update Power Management to automatically wake up the system to install scheduled updates from the right pane

- Select the Disabled option
- Click Apply then select Ok

Once done, you should be good to go.
The post Fix: Computer Turns ON by Itself appeared first on Appuals.com.
No comments